Follow Me on Pinterest Follow Me on Youtube Follow Me on Instagram Follow Me on Linkedin Australian Top 100 Blogs
Showing posts with label #building. Show all posts

Saturday, 30 July 2016

Not a Chippy

Not a Chippy
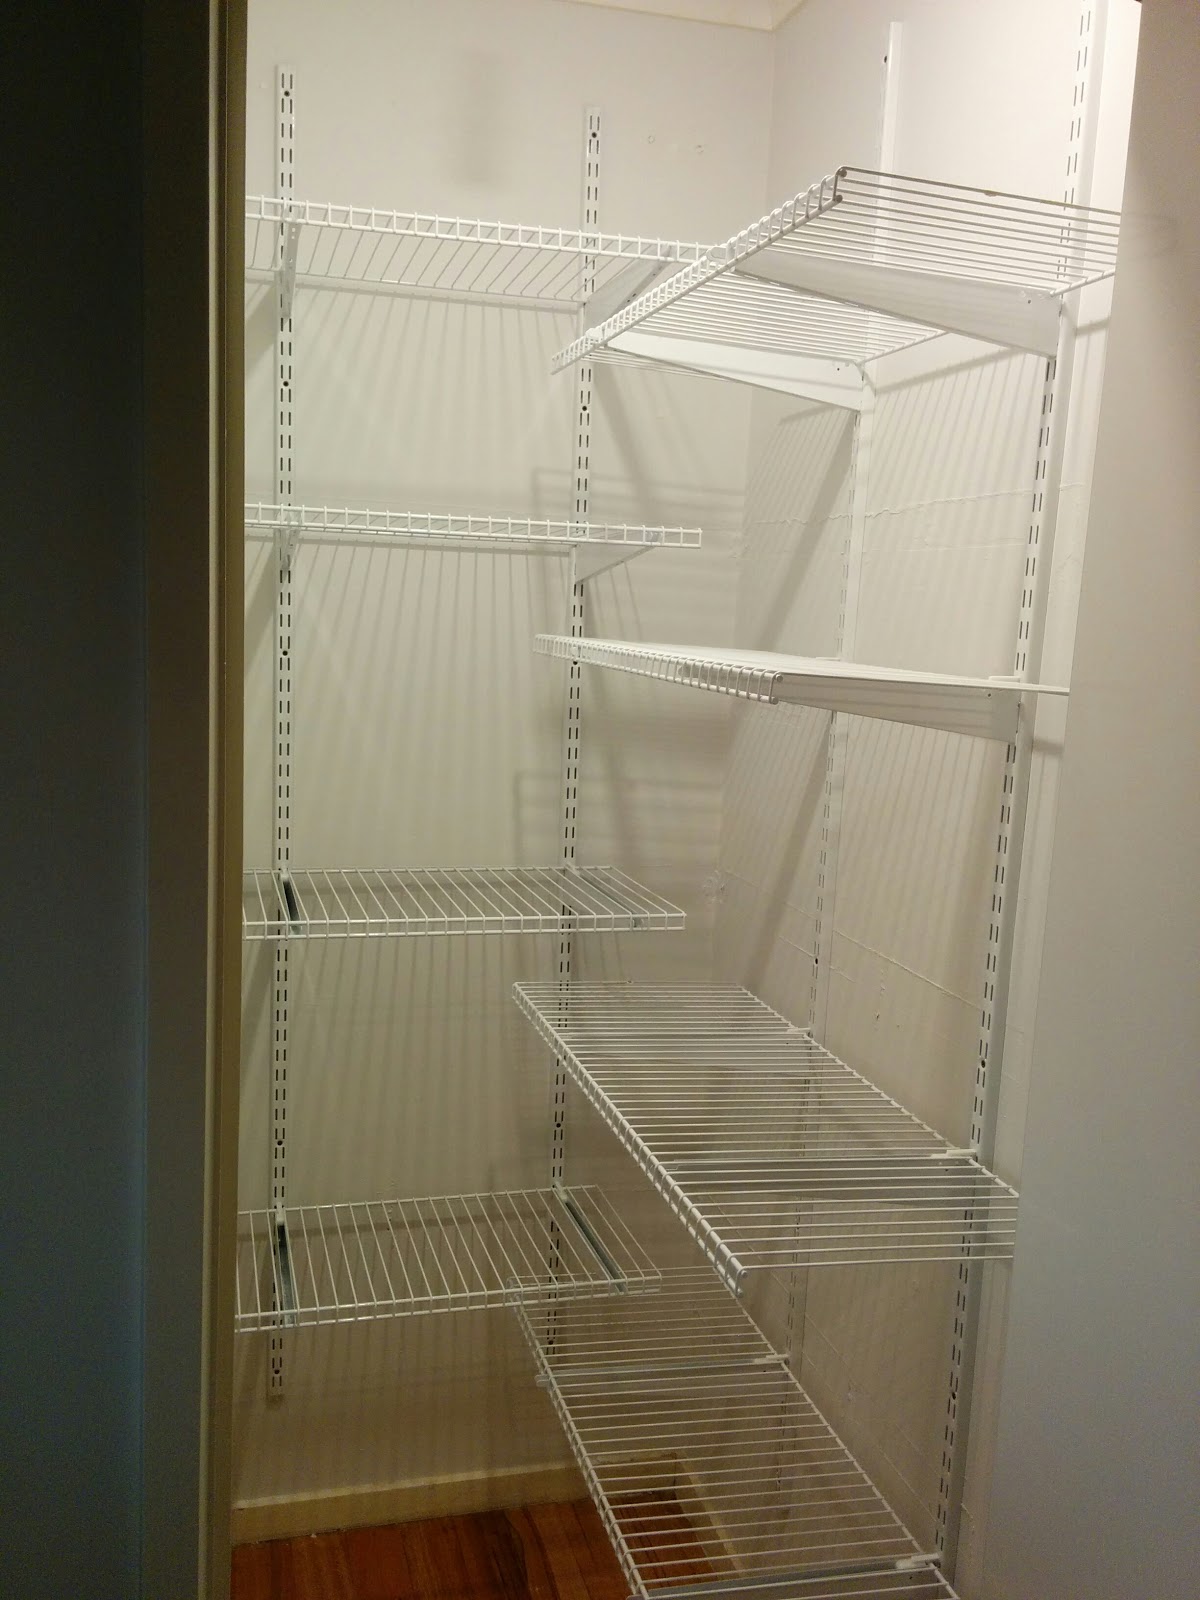
Another day has gone and again we achieved our goal of building some shelves in the next cupboard, for those who are not Australian and don't know what I mean by a chippy. A chippy is a carpenter and by no means are we carpenters but as usual we gave it our best... First thing was removing the old shelves.


Every shelf / cupboard is build differently in this house like in the kitchen they had glued and nailed the shelves in. In the bedroom they just used a lot of massive nails and in this room they used massive nails and toggle bolts. They used about 2 to 3 toggle bolts per shelf with nails and normally 1 toggle bolt can hold 10kgs. Unless they had planned to put 30kgs minimum it was completely over kill. It took nearly 2 hours to take them off the walls. You have to be carful when removing toggle bolts as they can put massive holes in the walls. 


Constructing them is the easy part as we went to the local hardware store with the measurements and got all the timber cut to size. Then all you have to do is put it in place and screw together. The project took a about 4 hours.


We installed rails to hang clothes off but the total cost for today was  just under $60 to do.
Have you ever tried to install shelves? Now we have to patch and paint.

Thanks for reading.
Kind E-gards
Dale


Monday, 4 April 2016

April Already???

April Already???

I don't know where the last few months have gone because life has gotten hectic for me and my renovations and work has gotten crazy with unrealistic expectations which has not helped my mood or wanting to do anything else really.
We really hated our walk in wardrobe  so we jumped on the IKEA website and designed  a new wardrobe.

There is not much space in there to take photos afterward , but this is the design.


It took a full day to install both units but have now given us so much more space.

Our Easter weekend involved us doing the laundry and that included wall mounting cabinets plumbing as well. I had to replace the skirting board as it was not done correctly. I also helped the Mother-in law do renovations at their investment property including removing a massive tree


We need to get someone to tile the wall so that is still on the to-do list.


 I still can't believe i have done most of my resolutions. This weekend we had a baby shower to go to and catching up with friends. Next weekend should hopefully be quiet.

Kind regards
Dale

Wednesday, 11 March 2015

Building a P.C (Basic Guide)

Building a P.C (Basic Guide)

I have wanted to build a new computer for a few years now, my old windows laptop finally stopped working so we had a look at the laptops and you did not get much for you money so i decided to build a computer. I spent a few weeks doing research into what i should get and how much i should spend. I could spend as little as $400 for a very basic computer or about $700  for a decent one that should last me about 5 years( but can be upgraded easily).

So these are the parts i decided on and prices.
CPU Intel Core i3 4160, 3.6GHz, 3MB Cache, LGA1150 CPU $149
Motherboard Asus H81M-E Micro-ATX Motherboard LGA1150 $60
Ram Corsair 8GB (2x4GB) DDR3 1600MHz CL9 Low Profile Vengeance - Black (CML8GX3M2A1600C9) $115
Hard drive Samsung 840 EVO Series 120GB 2.5" Solid State Drive MZ-7TE120BW $90
graphic card Asus GeForce GTX 750Ti 2GB GDDR5 Graphics Card $175 
2 TB  Sata 3 hard drive $99


I got a decent graphics card because it will allow me to use 2 screens at once and fast enough to edit big files ( and watch movies with amazing quality). If you wont do that then you don't need to buy one you can use the inbuilt card. I was also given a power supply and a screen.


I have had this computer case for about 15 years and i refuse to get rid of it as it has sentimental value .(and i am cheap :P) I't needed a really good clean so i used the leaf blower to help.

Step 1. Take the case, open it and take out everything.
I took photos just in case i needed to refer to it later ( i didn't need too)


Step 2. The Motherboard comes with a metal strip that slides into the back piece of the case to cover the ports, so it goes from the inside and just clips in.


Step 3. Take the power supply and it can only fit in the spot where the original came out from.


Step 4. Take the Motherboard and the Processor, The Processor can only go in one way. So there is a little lever that slides away from the unit and lifts up, you take out the display unit and insert the new Processor and close it.


Step 5. Now the fan sits on the Processor and screws down. There is a spot at the top of the Motherboard that says CPU FAN and the power connects in there.


Step 6. Take the ram out of the box and there are little clips that open out. The ram can only fit in one way so you don't need to force it. When you push it in, it will click and the clips will lift up automatically and hold it in place.


Step 7. Take the motherboard and place it in the case and make sure it sits far enough forward into the USB port metal strip. Then connect the power lead from the power supply to the allocated spots


Step 8.  Take the Graphics card and slot it in the card slot. Make sure it clicks in properly.  Connect the power lead from the power supply to the graphics card 


Step 9. Connect the power lead to the Sata hard drive. The sata lead connects in the bottom of the motherboard.


Step 10. There are little connectors for the power and reset and they go in the bottom right corner of the mother board but the manual tells you exactly where. ( My friend did that part for me as i could not see the small writing)

Plug in the power and the screen, connect the keyboard and mouse. I had a usb with an operating system. Turn it on and if it is connected right it will start up and windows will load straight away.

I hope this helps you if not you can laugh at my old case/
It took me a few hours to do as i have not built a computer in about 10 years and it is much easier to do now

I really need to organise my office.
Leave a comment.
Kind E-Gards
Dale Stewart

Tuesday, 27 January 2015

Do you want to build a playground?

Do you want to build a playground?

I have been in Australia for 15 years and have met many wonderful people. My closest friend and his Fiance' asked if we would help him build play equipment, Now when he said play equipment i did not think it would be a 4m x 4m playground. If you have ever built one you would understand that is not easy and the instructions don't always make sense. In total it took about 10 hours over 3 days but was a lot of fun actually doing it. 


We don't have children but her expression and pure happiness makes all those hours seem worth it. If we never have children at least we will always have friends with beautiful cheeky children that we can spoil. 

Have you ever had to build something like this? 
Are you the handy type person ?
Leave a comment below
Kind E-gards
Dale Stewart